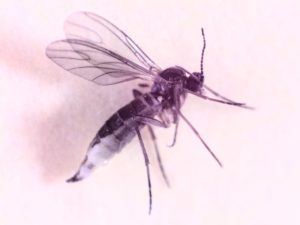
In a first post about Macro photography with the Raspberry Pi HQ camera I showed some pictures made with the reverse mounted lens technique and the new Raspberry Pi HQ camera.

But you might wonder what the exact setup was. So I show and describe it here. Yes, the 16mm lens is used upside down, or the wrong way. 😉
As I explained earlier. Normally you catch a big world in a small photo, and by reversing the lens you’ll get the opposite. You can make a small world big.
Exactly what you want for macro-photography.
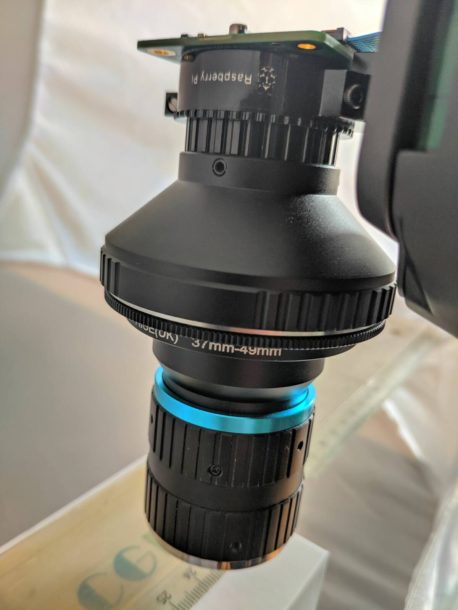
What’s on the picture:
- A tripod with on top the Raspberry Pi HQ Camera
- next the C-CS mount, not really needed, but gives a bit more magnification
- next is a C-mount Pentax K-mount adapter, so you can mount Pentax lenses on the Raspberry Pi camera
- next is a reverse macro ring a K-mount ring with to male 49mm filter screw thread, needed to mount a lens in reverse/wrong direction
- next is a step up ring 49mm female to 37mm male screw thread
- next is a reversed 16mm lens connected with the female 37mm screw thread
That way you get a huge magnification.
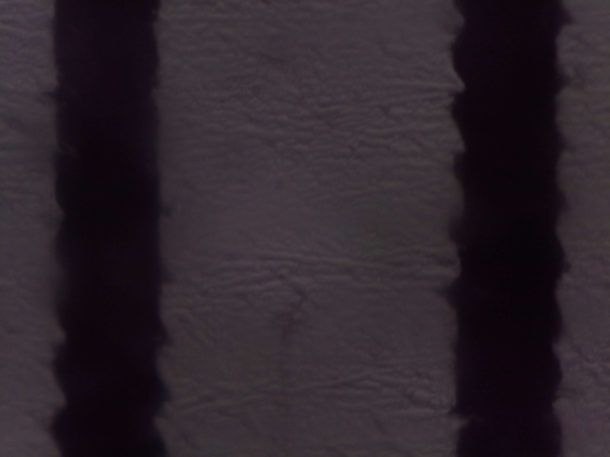
With this setup I photographed a 1mm on a ruler.
It’s a bit dark, but as you can see the distance between the two stripes that is taking up about 2700px.
You can use this setup also as a cheap microscope.


June 6th, 2020 at 7:54 pm
[…] See my earlier posts about photographing with the Raspberry Pi HQ Camera: part I and part II. […]
June 7th, 2020 at 5:44 pm
[…] You can use these lenses as macro lens by to reverse mounting them on the Raspberry Pi HQ camera. That works surprisingly good. See my earlier posts. […]