The original Droste Effect
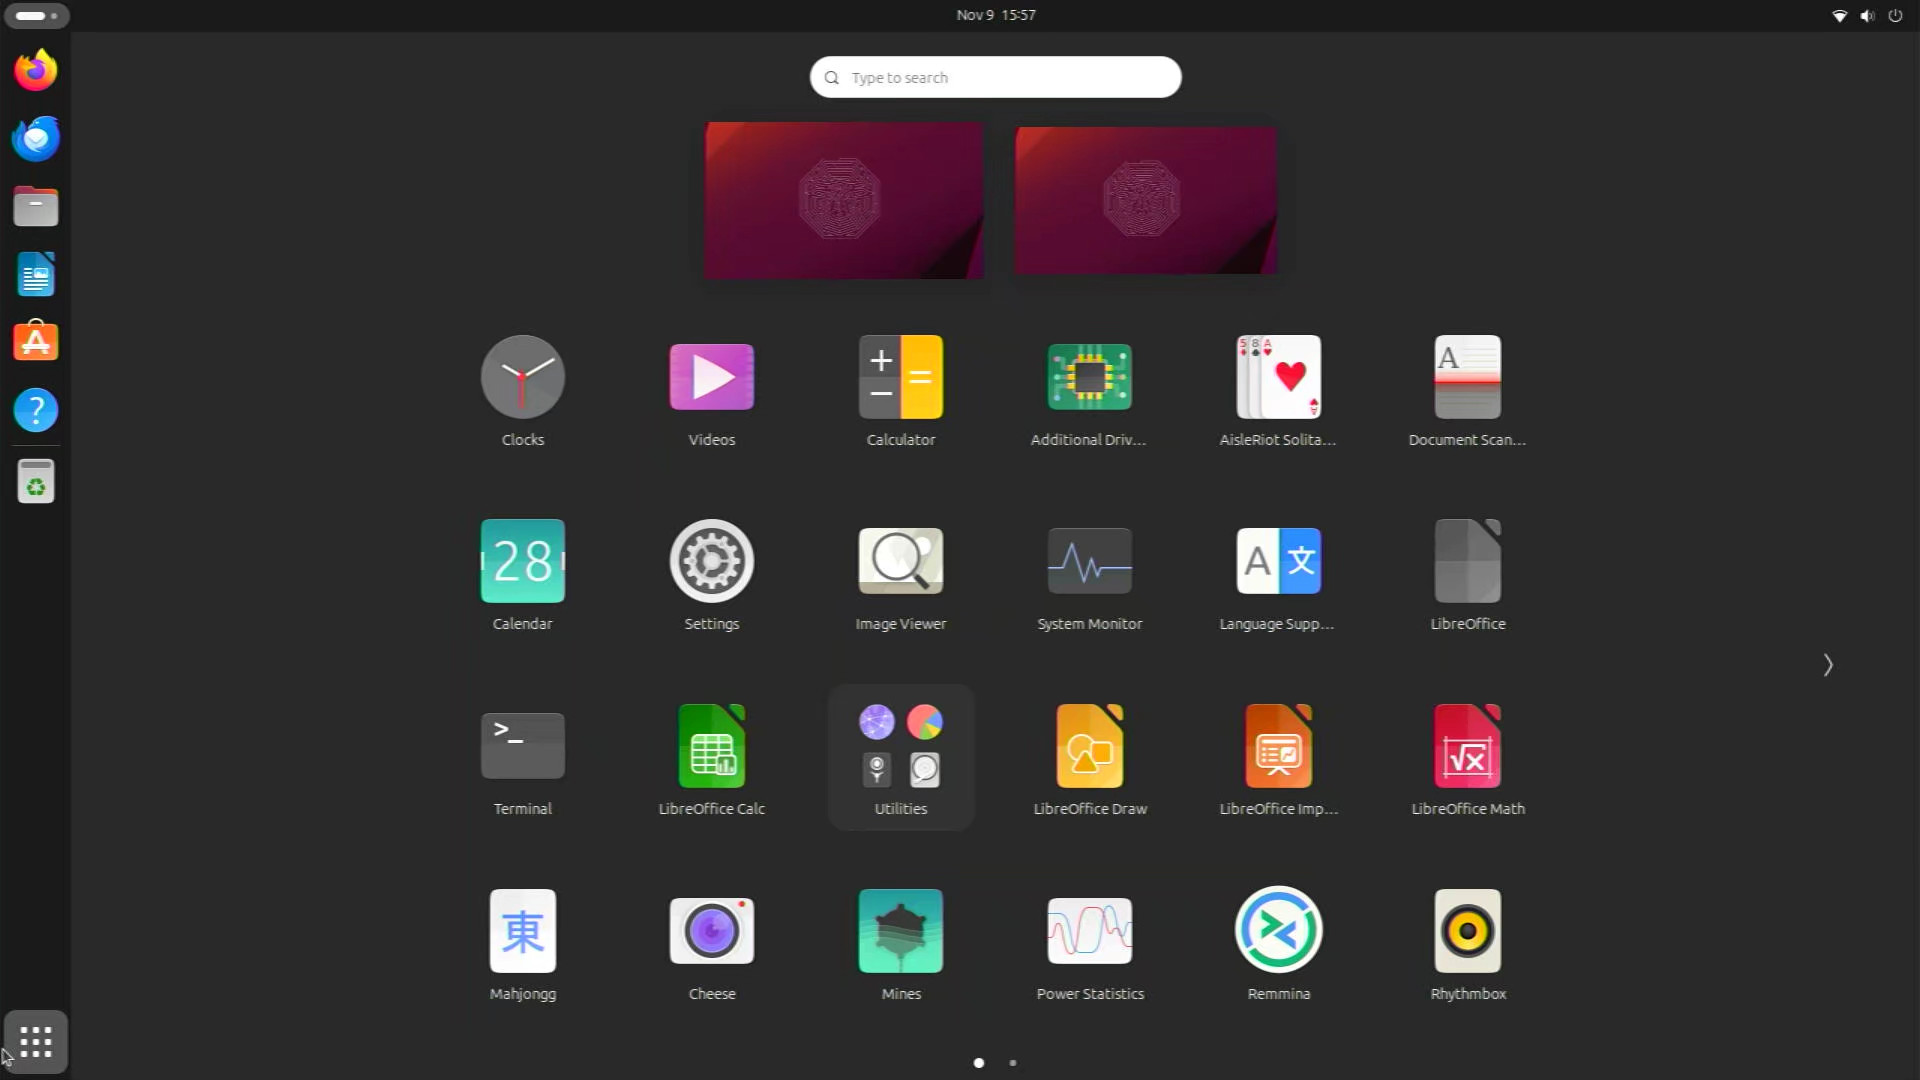
Trying out the new Ubuntu 22.04 on my Raspberry Pi 400, I was surprised by the smoothness of the new Ubuntu distribution. Much better impression then the first time I tried Ubuntu on the RPI, I think that was the 20.10 release.
A funny thing to try out, especially if you love fractals or you are an admirer of the Dutch graphic artist Escher who’s work features features mathematical and even impossible objects, is the subject of this post.
Another returning phenomenon in his drawings and paintings is the Droste-effect , and I’ll shwo you how to create a Droste effect on your Raspberry Pi with a few mouse-clicks.
Creating a Droste effect on your Raspberry Pi
Yes, you can do that with just a couple of mouse-clicks, you don’t need a mathematical package or a graphical editor like Gimp or so.
Trying out the new Gnome Desktop Sharing feature, which let you share your desktop not only with the older VNC protocol, but also with the newer RDP protocol, gave me this idea.
To activate:
Settings -> sharing -> enable -> enable Remote Desktop -> and setup some authentication: username and password
For creating the Droste-effect we gonna do something silly: we gonna connect to our-self! Yes a Remote Desktop Connection with a local client.
A Remote Desktop Connection with a local client
Introspection!
Start up the default remote desktop client Remmina.
Quick setup a new connection, enter your IP-address and the authentication you just entered: username and password.
To find your IP-address, open a terminal, (CTRL ALT T) and type `ip address` return. Then you will find it in the output, or look it up under details in the network settings.
Save and connect in the Remmina dialog, and see the connection being made.
Click the `Toggle Scaled Mode` button to rescale the desktop (CTRL_R S), and there it is.
A nice Raspberry Pi Droste Effect of the Ubuntu Desktop in a local remote Desktop connection: 🙂
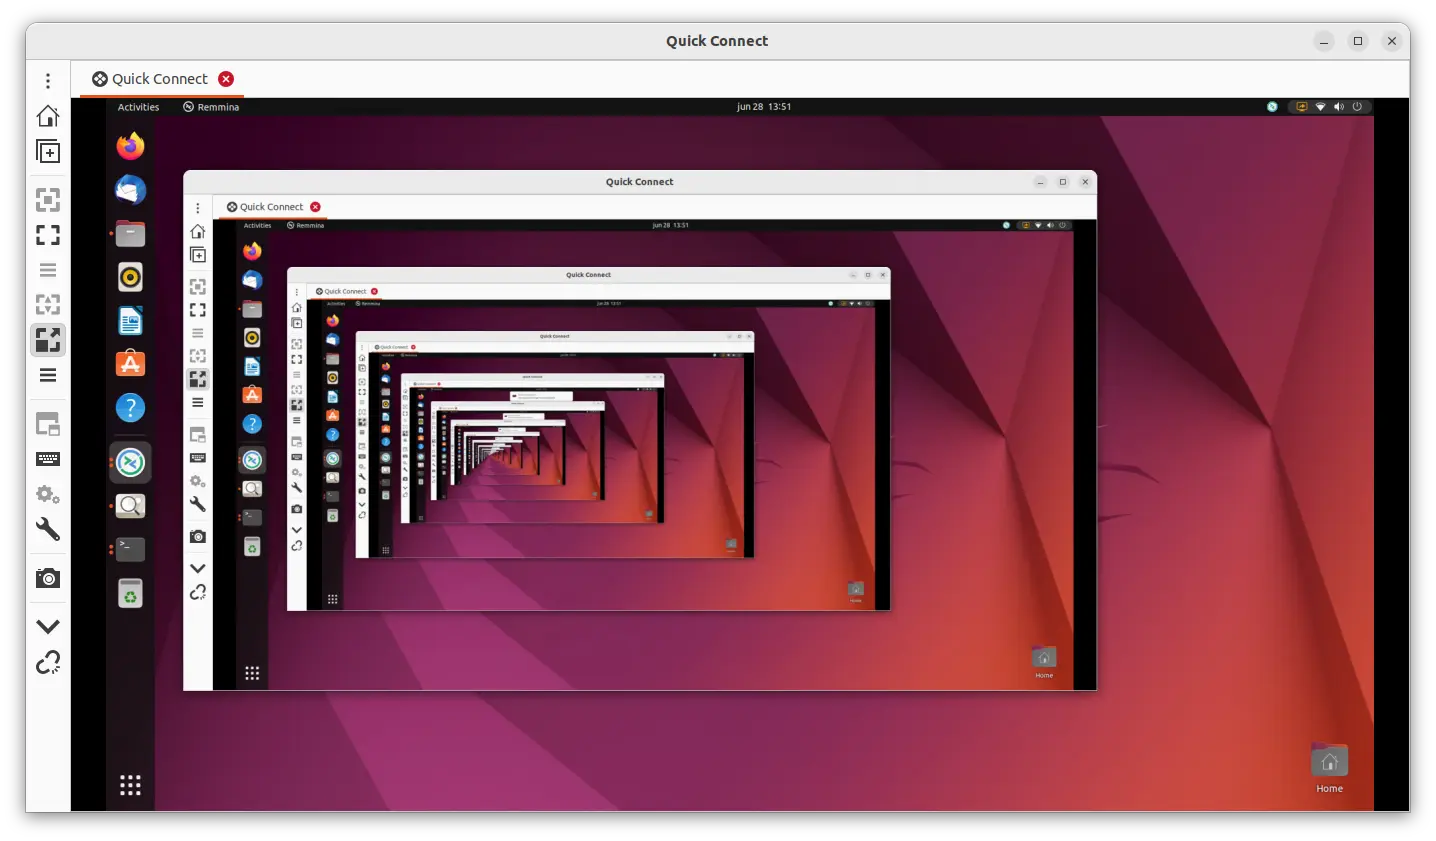
Remmina Droste effect
Gnome-connections
An alternative to `Remmina` is Gnome-connections. That program is in development, but like all Gnome apps, it does offer an very easy and intuitive approach.
Can all the settings in Remmina be overwhelming, gnome-connections is easy as it can be.
But the default resolution seems to be quite poor. And I could not find a scaling options, so you end up with a more spacey psychedelic form of computer art.
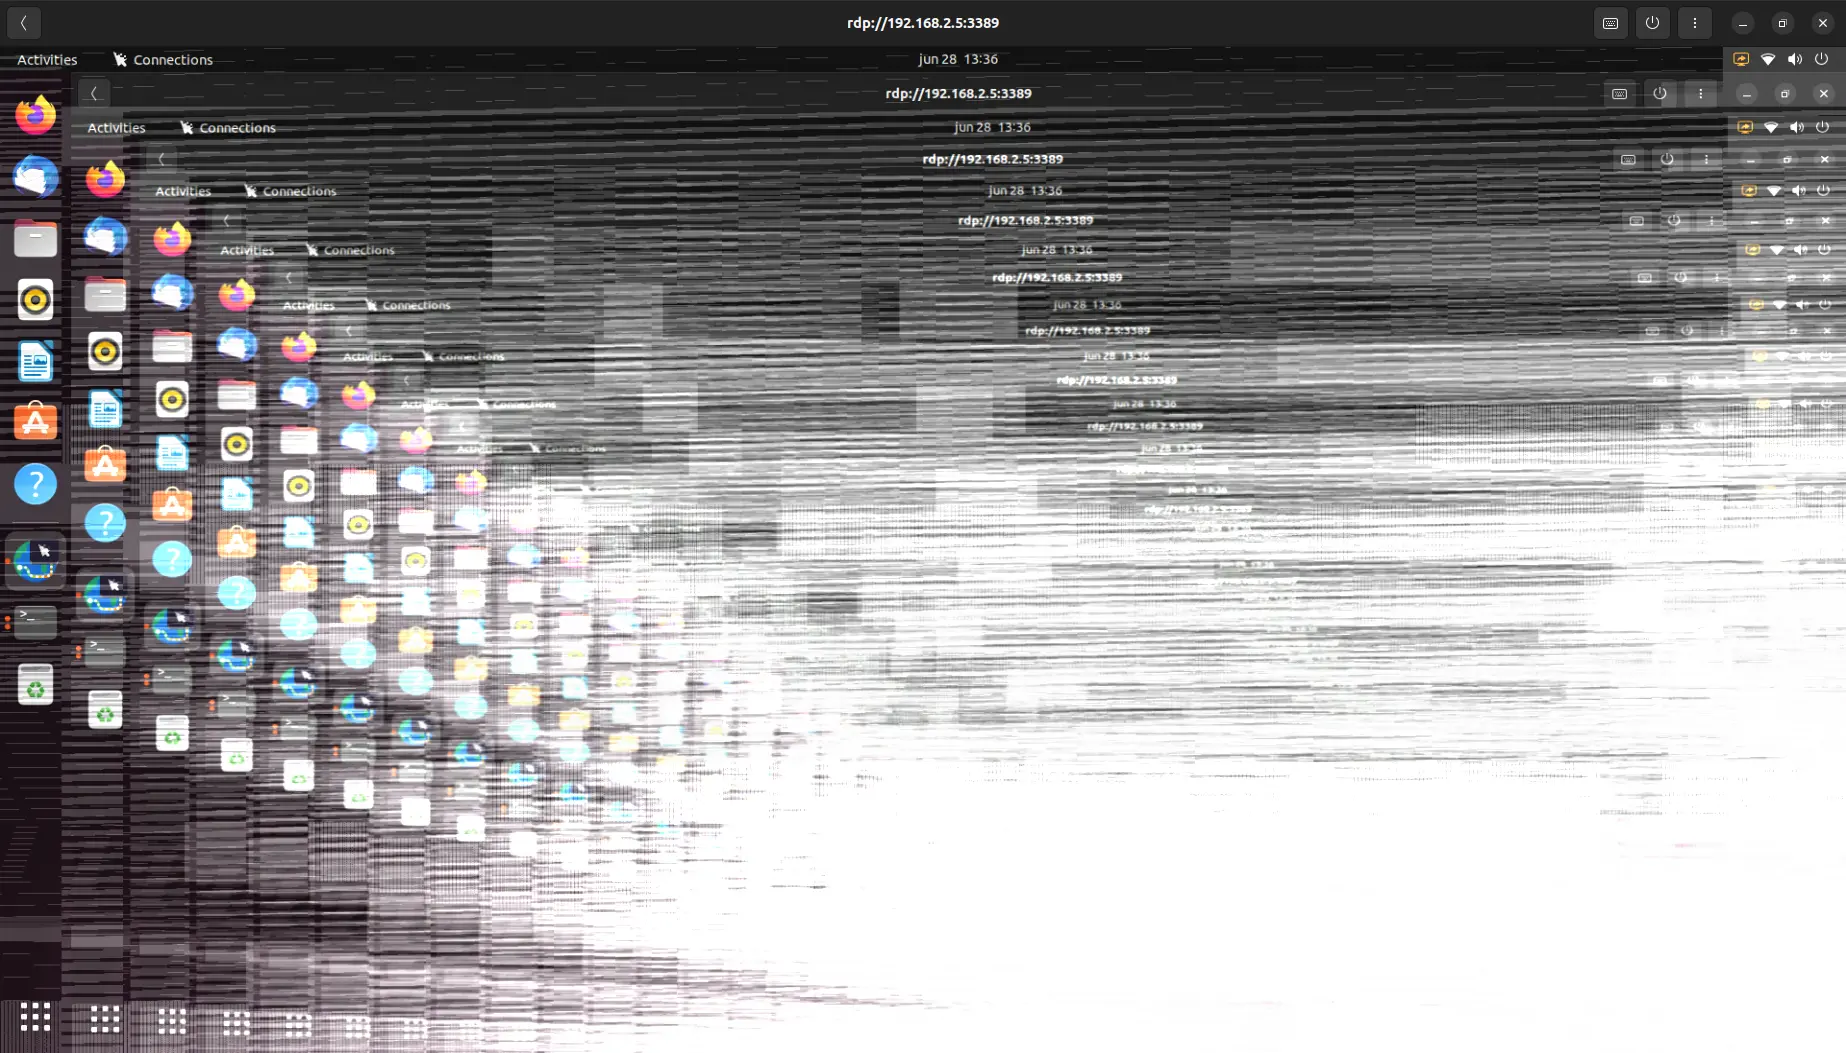
The Gnome-Connections Art
Cool as well.
Update: Actually there is a scale setting for Gnome-Connections, a bit hidden, under properties once you established a connection. Using Gnome-connections for managing my Pi400 from another Ubuntu 22.04 is working quite well, although I had to restart the Pi400 to get control working.
So maybe Gnome-connections is lacking a lot of settings, it’s working out of the box surprisingly well in Ubuntu 22.04.
Give it a try, if you own a Pi.
How does the Pi create a Droste effect?
You open up a program that shows your complete desktop scaled including the program that shows your desktop scaled, etc etc.
Actually I was expecting a crash, or out of memory error, you will probably get that when you let it run for hours, but the Raspberry Pi kept being responsive for the couple of minutes I tried. Enough time to take a screenshot.
So it seems Ubuntu and Gnome are much more optimized for running on less powerful hardware in 2022 then a couple of years ago.
This funny showcase of the Droste-effect is the prove, and that is all a big win.
Please let me know what you think in the comments.