The Raspberry Pi is a small computer, but it is a great machine for experimenting with all sorts of technology. The Raspberry Pi Foundation just introduced a new High Quality camera with changeable lenses, so let’s find out if that new camera board can be used for photographing small objects.
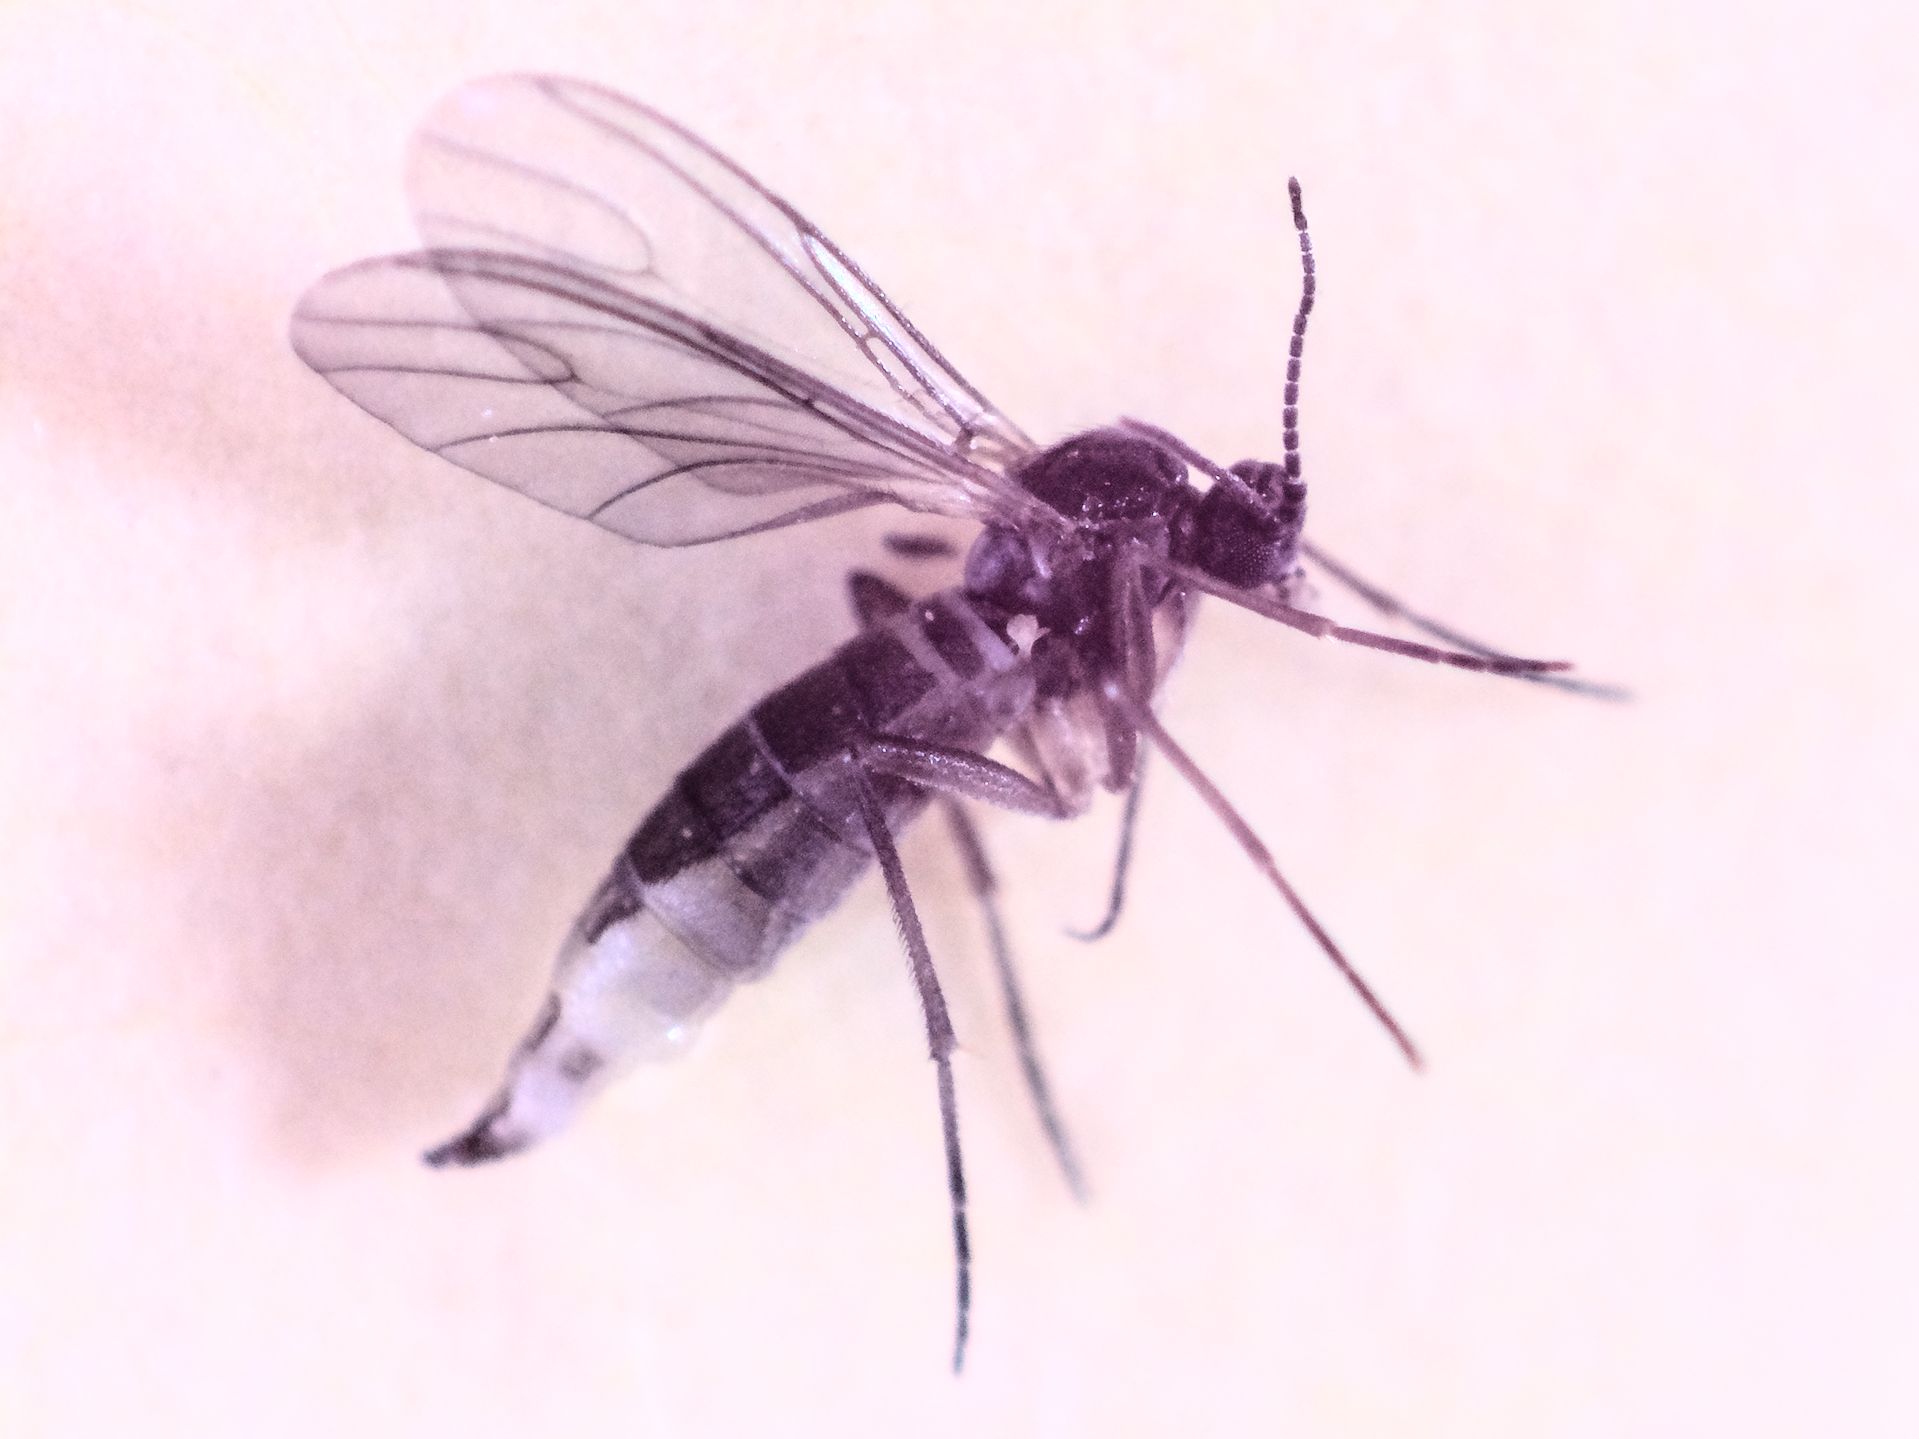
Fruitfly
And I’m gone a use a rather surprising but cheap technique: reversing the lens.
Reverse Lens Macro technique
Normally you catch a big world in a small photo, and by reversing the lens you’ll get the opposite. You can make a small world big.
And a wide-angle lens offers more magnification than a standard lens.
By reversing a lens on a modern camera, you lose auto-focus and auto aperture, but that is not a issue here because the C(S) lenses are always manually operated for focus and aperture.
And that is the same with classic full frame glass of the 80’s, they all have aperture rings and focus rings, so I bought a C mount to Pentax K-mount adapter. That way I can reuse my old Pentax glass (Pentax ME-Super) from the 80’s on the brand new Raspberry Pi camera.
What do you need for reverse macro photography?
Before you try, get a tripod. Because you need a tripod. Period.
And for reverse mounting a lens you need a additional adapter: a reverse macro ring (49mm). That is an adapter with on one side a lens mount and on the other side a male filter screw thread. I already had one with a Pentax mount.
I could not find a 37mm reverse macro ring with a C-mount for the Raspberry Pi 16mm lens, but no problem, I can use the Pentax reverse macro ring with just another step up ring 37mm-49mm.
In the end I use three adapters to try out my Pentax lenses and the Raspberry Pi 16mm lens.
- C-mount to Pentax K-mount adapter, so I can re-use old Pentax glass on my new Raspberry Pi camera.
- Reverse Macro Ring 49mm. The 49mm filter screw let you reverse the lens and mount it on the camera.
- a 37mm-49mm step-up ring, so you can use a 49mm filter on a 37mm filter screw lens (the official Raspberry Pi 16mm lens).
Macro photography with a Raspberry Pi 16mm lens (reversed)
First I tried reversing the 16mm lens.
This is the eye of a housefly:
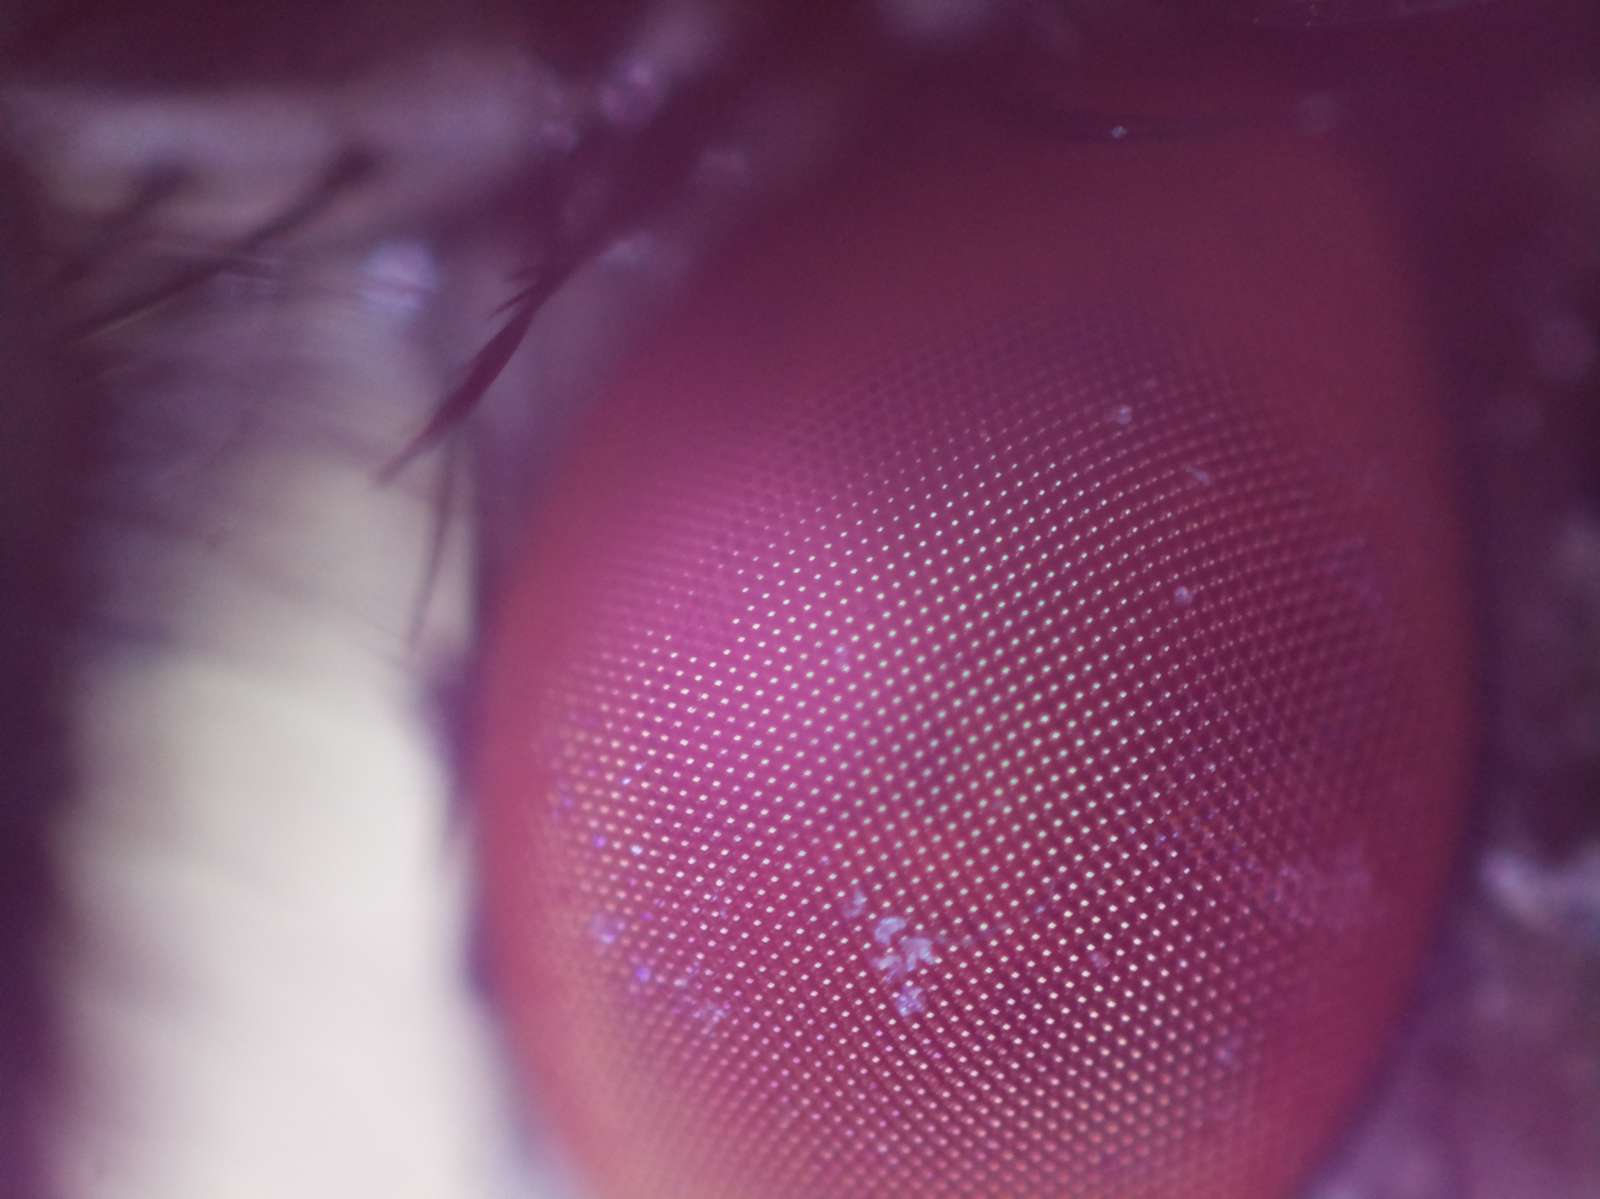
Eye of a housefly with a reversed Raspberry Pi 16mm lens
Wow. Huge magnification.
Raspberry Pi HQ camera and reversed 35mm Pentax glass for Macro-photography
This is the same (dead) housefly with my reversed Pentax 35mm, less magnification and a better depth of field.
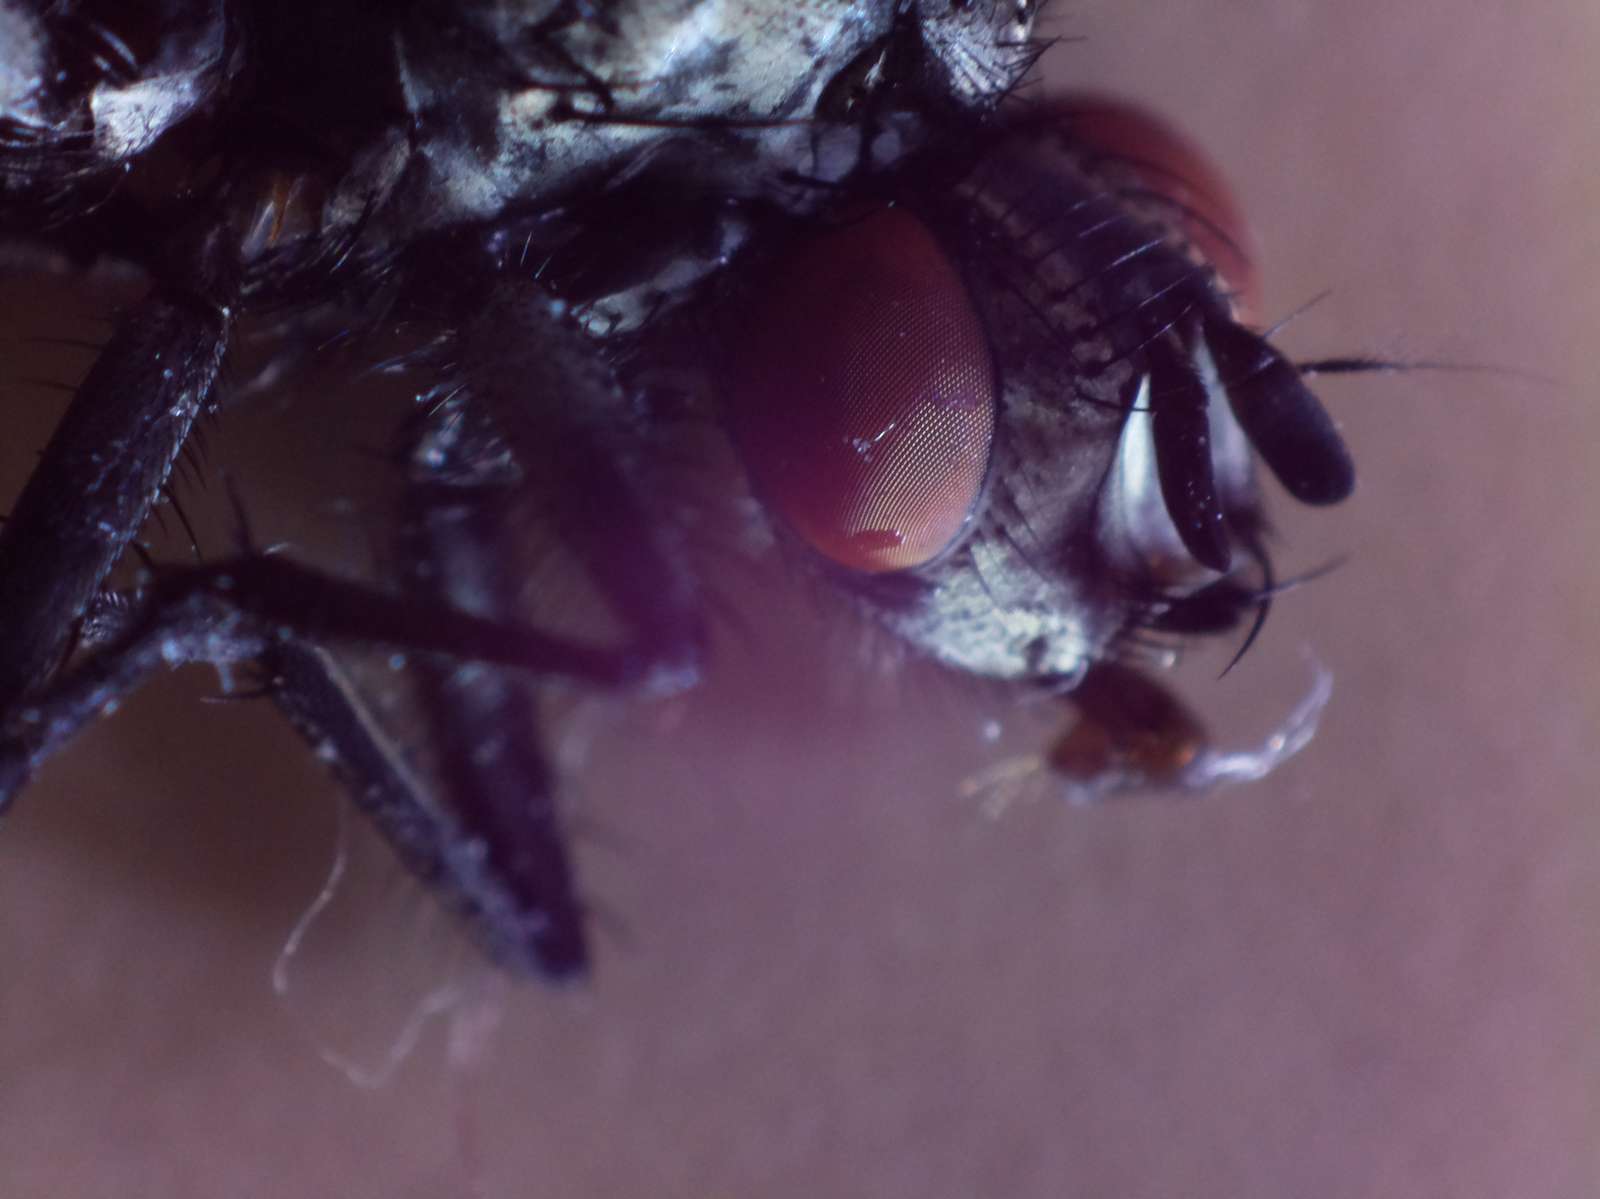
Housefly with a reversed Pentax 35mm lens and the Raspberry Pi HQ camera
But the fly is still a giant monster.
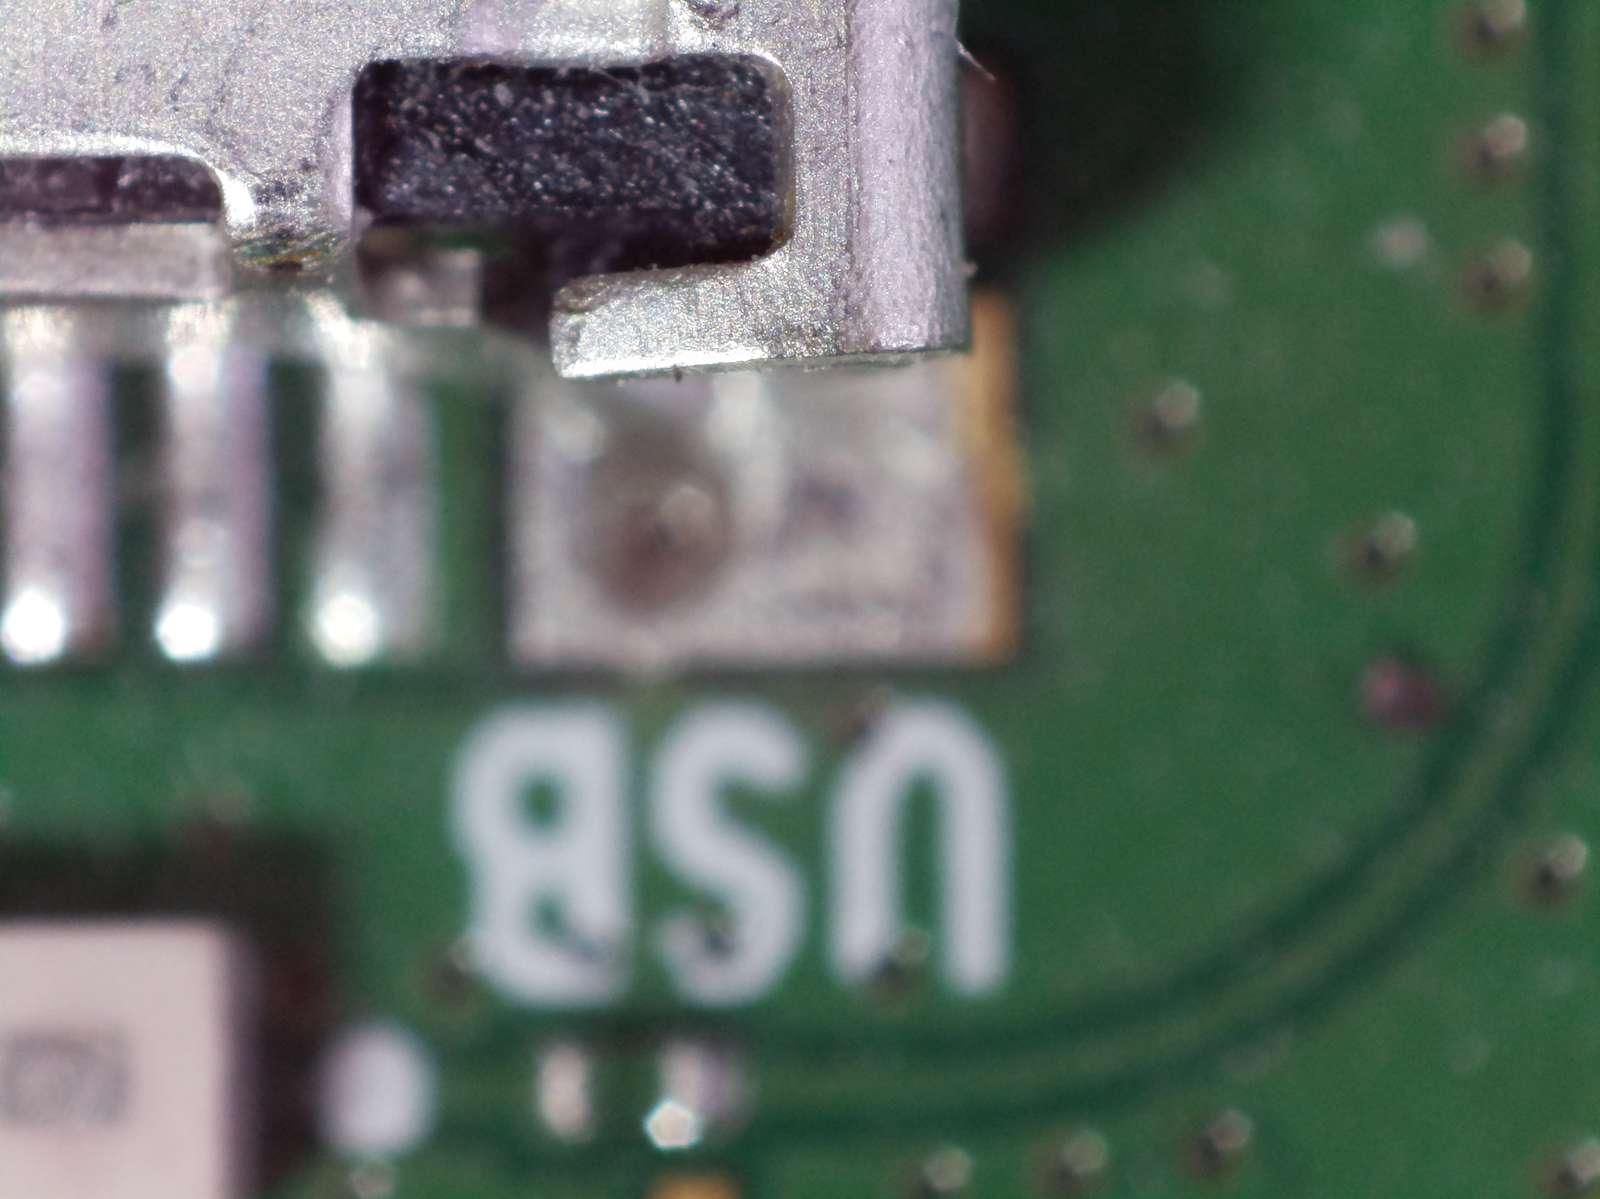
Who said a Raspberry Pi Zero is a small computer?
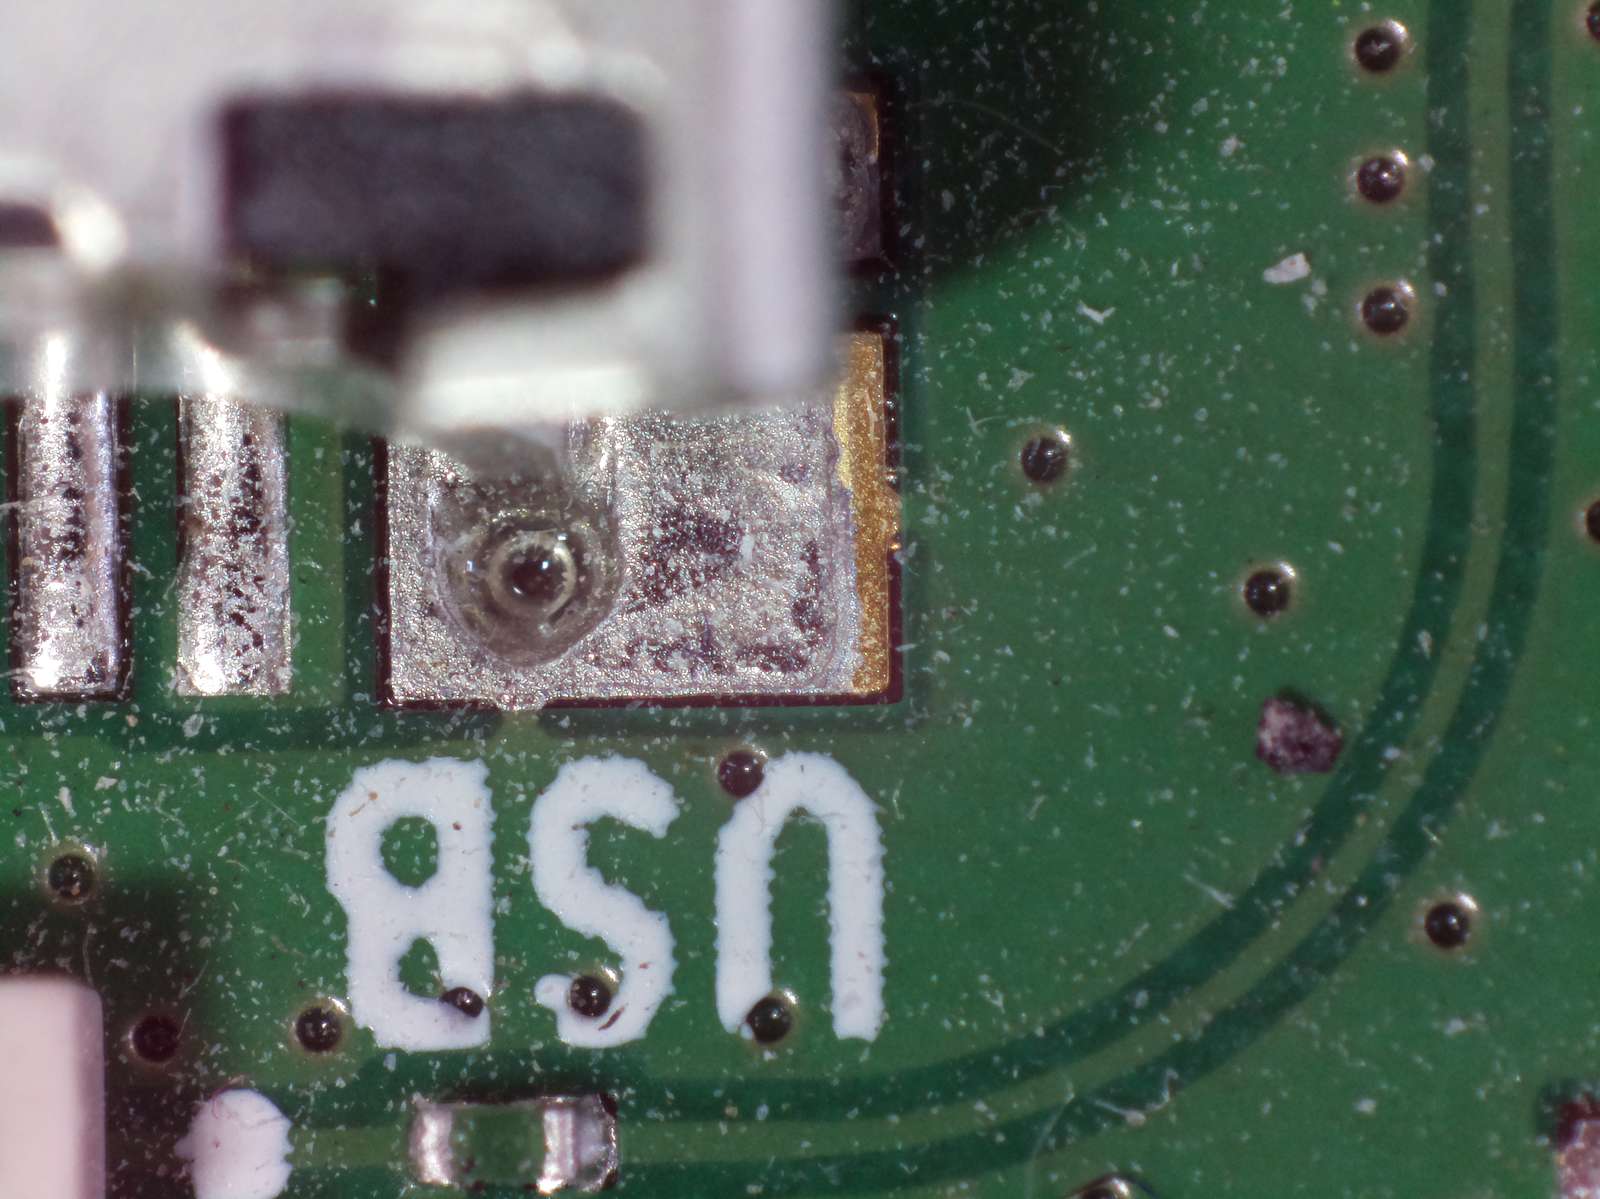
Raspberry Pi Zero is one of world smallest and cheapest computers
Watch the shallow depth of field:
But it’s a giant world with mountains and valleys for small creatures
Tips & challenges macro-photography
- use a tripod
- light
a big challenge is dealing with the shallow depth of field. Probably stronger studio lights could help here, that way you can close the aperture to get more in focus. Above photo’s are made with daylight inside a room. No studio light used. - use focus-stacking software like Enfuse. A problem here is that with the focus you’ll also change the magnification a bit, so you need to correct for that. Need to figure out an easy way to do that.
- somehow the colors are rather flat. Probably I need to tweak that in Darktable, or use studio lights.
- focusing is best done with the tripod adjusting the height and a vertically mounted camera.
Tags: rpi
June 4th, 2020 at 9:46 pm
[…] a first post about macro photography with the Raspberry Pi I showed some pictures made with the reverse lens technique and the new Raspberry Pi HQ […]
June 6th, 2020 at 7:46 pm
[…] my earlier posts about photographing with the Raspberry Pi HQ Camera: part I and part […]
June 7th, 2020 at 5:43 pm
[…] by to reverse mounting them on the Raspberry Pi HQ camera. That works surprisingly good. See my earlier […]