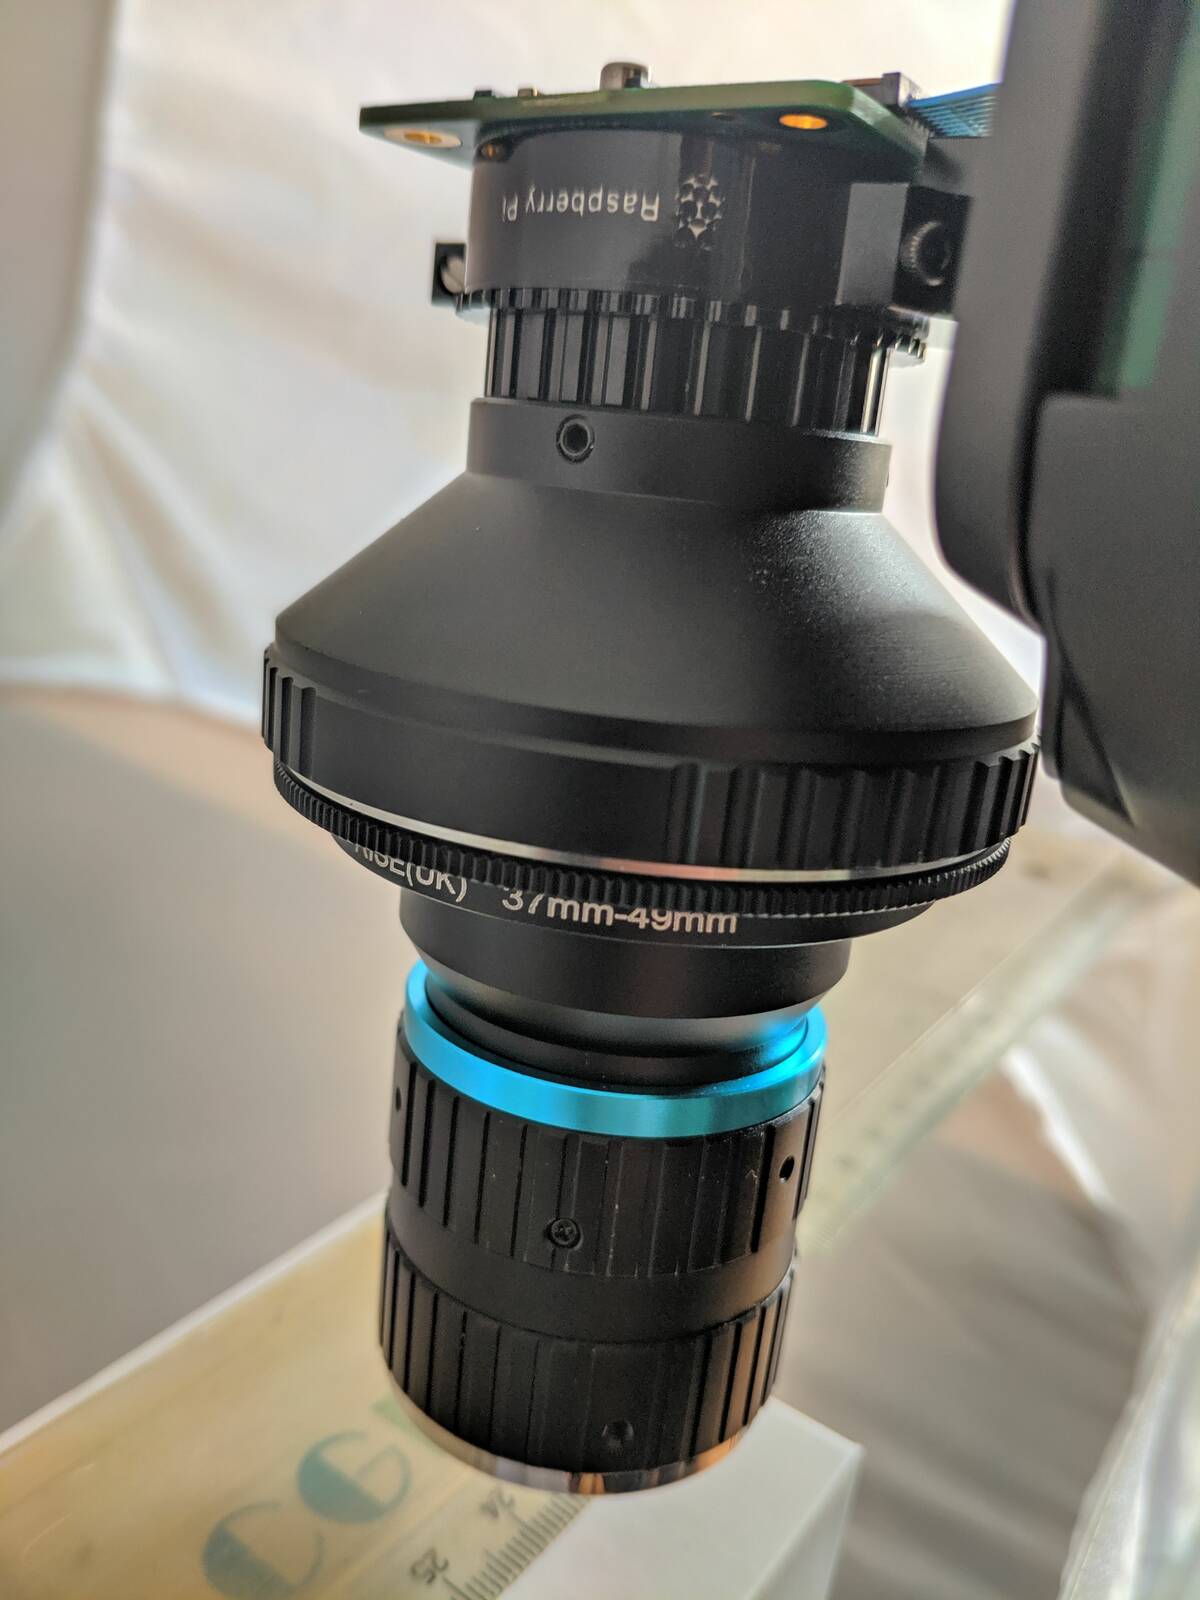
Another try with some extra lighting, and post-processing with Darktable. See my earlier posts about photographing with the Raspberry Pi HQ Camera: part I and part II.
This time I used a special build of raspistill that offers a Field of Merit function to assist focusing. The Raspberry Pi Forum is full of helpful people and is very informative.
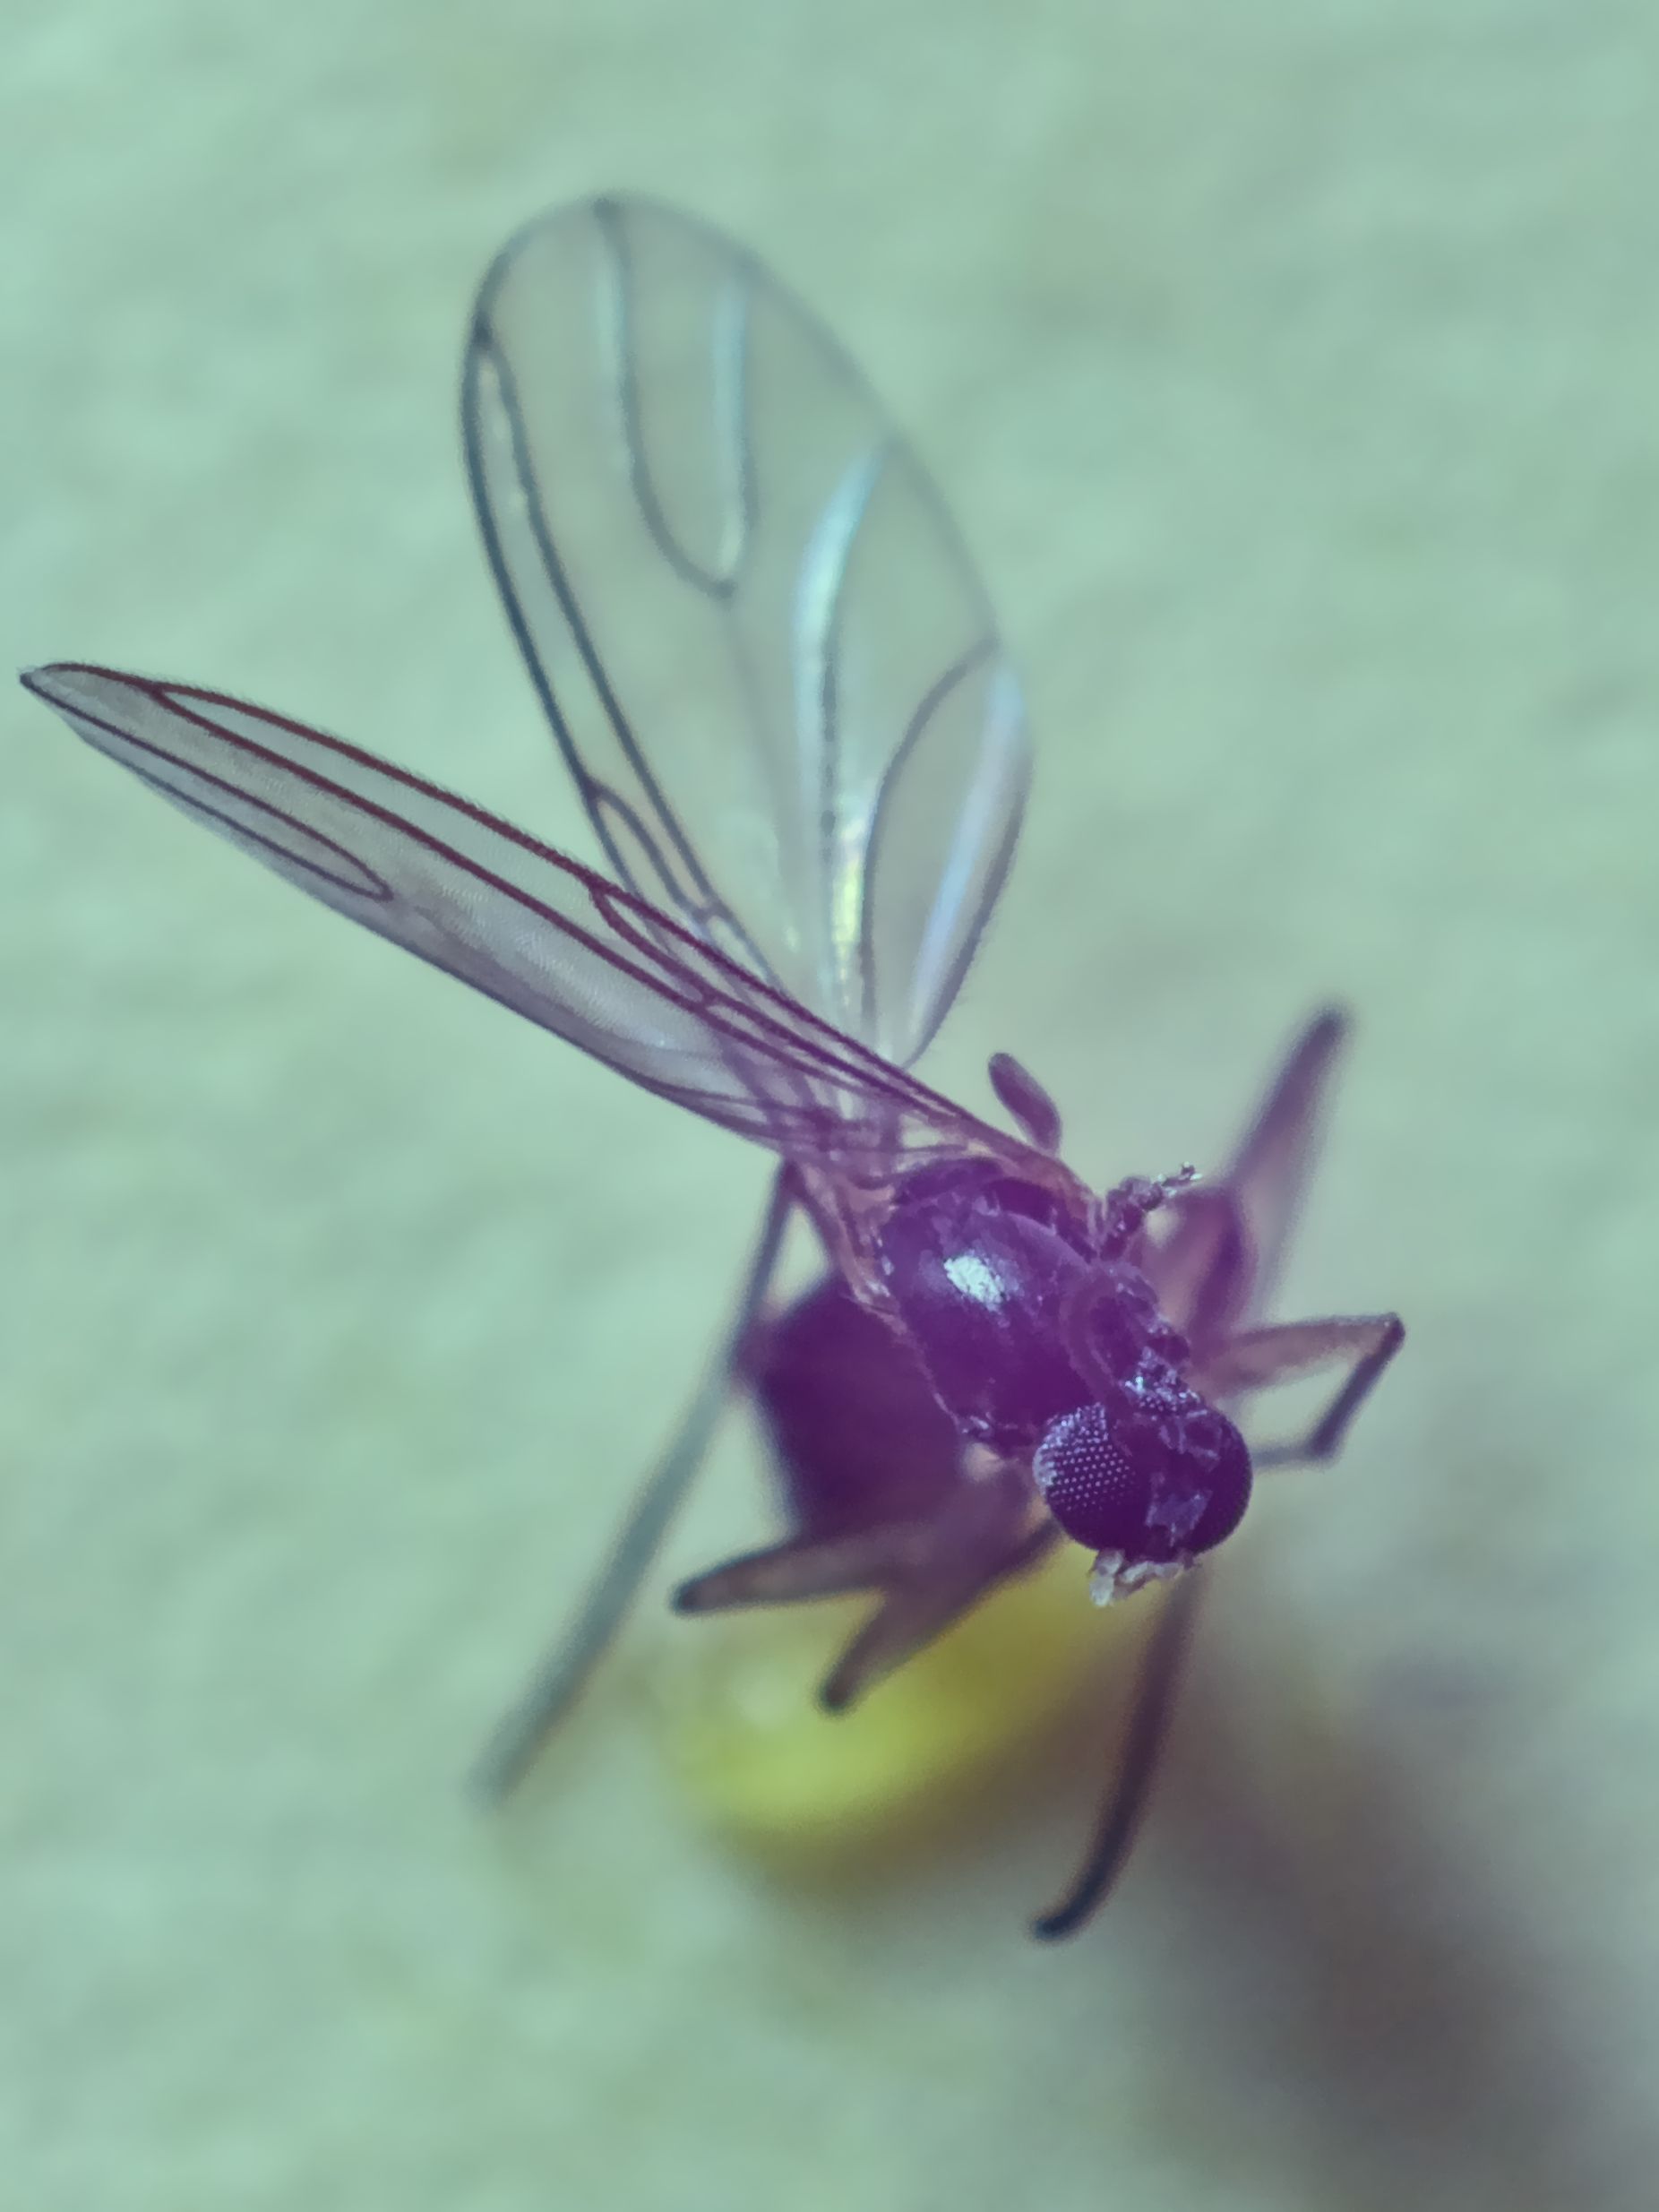
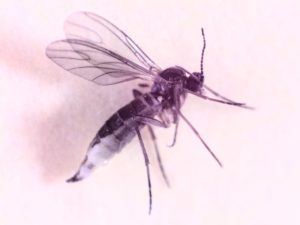
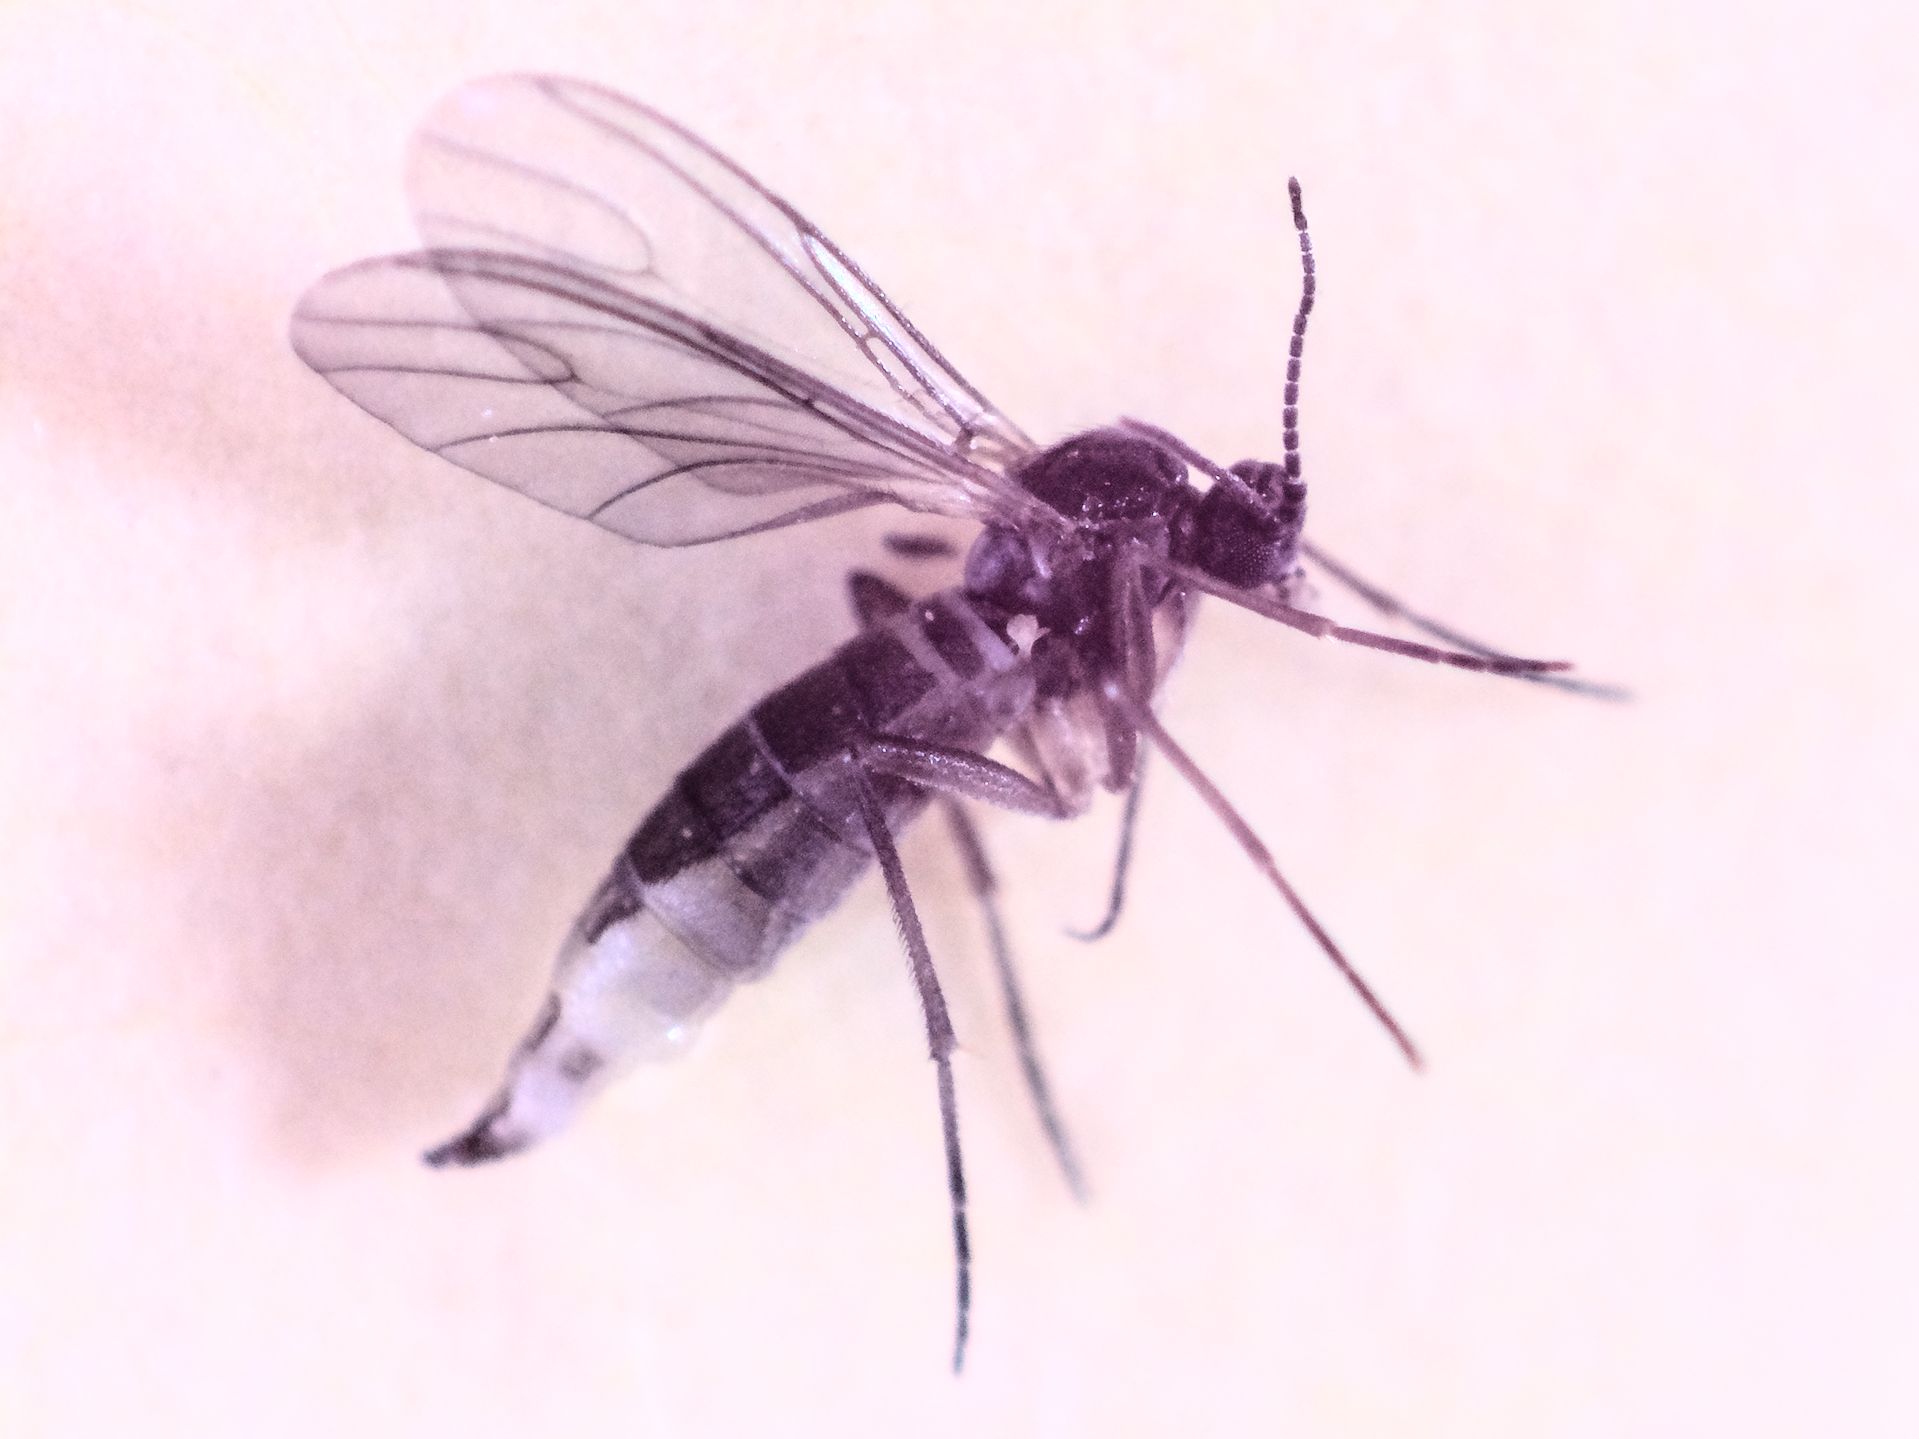
Fruit-fly taken with a Raspberry Pi HQ Camera and a reverse mounted Pentax 35mm lens
Fruitflies are the really minuscule flies that hang around you garbage bin, or home plants in the windowsill.
Not sure what the yellow blob is, maybe I caught the fly eating a piece of banana.